The Many Uses of Concrete
https://imaginahome.com/wp-content/themes/osmosis/images/empty/thumbnail.jpg 150 150 Nisha Muire Nisha Muire https://secure.gravatar.com/avatar/d5fe8c2a727e05a050f28f8236ee415c4328cfed239ef48d94f0e8ac326e8708?s=96&d=mm&r=g
You can be forgiven for thinking that the only use of concrete for your Toronto home would be exterior and functional – nothing could be further from the truth. In fact, concrete is a very versatile and easy to use material that can be manipulated to fit whatever need you have with little fuss. The durable and solid material can be tinted, stamped, patterned and shaped to beautify your home and to provide you with custom creations that will lend your home a unique touch.
1. Conventional Uses
The most conventional uses for concrete include exterior applications. Concrete is great for driveways, walkways, patios and balconies. However, did you know that it can also be used for decorative outdoor touches? For instance, you can use concrete to create a “flagstone” walkway by simply buying the proper moulds. You can use it to create stepping stones for your garden. Concrete makes beautiful birdbaths and even whimsical sculptures – as long as you have the proper mould and the patience to cure it properly over a few days.
If used in driveways, pathways, etc… you can gussy up your concrete pad by stamping a pattern onto it. You can tint it to take on a more aesthetically pleasing hue and you can also paint it if you really want it fully covered.
2. Non-traditional uses
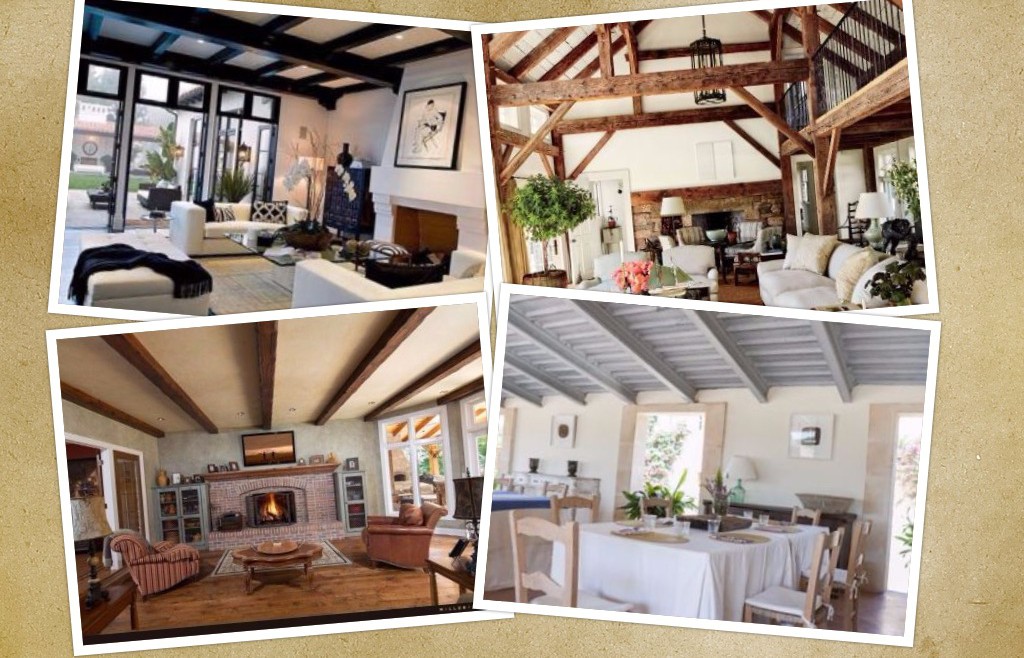
Concrete can also be used inside your home. Many lofts feature tinted concrete flooring, while concrete can also be used to create solid kitchen counters, attractive fireplace surrounds, and durable garage flooring.
Although heavy, it is a superb material that you can customize to suit your needs and your personality perfectly. It can impart any space with an authentic look unparalleled and not found elsewhere.
While concrete has been a material of choice in many European and Asian countries, it is only catching on as a viable decorative finish in North America. So, the next time you have a home renovation project – include concrete in your choices and you just might be pleasantly surprised by what you can get and what you can do with it.
1. Conventional Uses
The most conventional uses for concrete include exterior applications. Concrete is great for driveways, walkways, patios and balconies. However, did you know that it can also be used for decorative outdoor touches? For instance, you can use concrete to create a “flagstone” walkway by simply buying the proper moulds. You can use it to create stepping stones for your garden. Concrete makes beautiful birdbaths and even whimsical sculptures – as long as you have the proper mould and the patience to cure it properly over a few days.
If used in driveways, pathways, etc… you can gussy up your concrete pad by stamping a pattern onto it. You can tint it to take on a more aesthetically pleasing hue and you can also paint it if you really want it fully covered.
2. Non-traditional uses
Concrete can also be used inside your home. Many lofts feature tinted concrete flooring, while concrete can also be used to create solid kitchen counters, attractive fireplace surrounds, and durable garage flooring.
Although heavy, it is a superb material that you can customize to suit your needs and your personality perfectly. It can impart any space with an authentic look unparalleled and not found elsewhere.
While concrete has been a material of choice in many European and Asian countries, it is only catching on as a viable decorative finish in North America. So, the next time you have a home renovation project – include concrete in your choices and you just might be pleasantly surprised by what you can get and what you can do with it.