Imaginahome will be closed from Dec 24th till Jan 1st. Happy Holidays!
  • Real Estate Photography, Videos, Tours, Printing & Design - Toronto, GTA & Surrounding Areas

Posts Tagged :

Ontario real estate

HoliDAY READY

1024 683 Nisha Muire

The holiday season in Toronto is a time for family gatherings, festive meals, and creating lasting memories. One of the most important things you can do to prepare is get your home ready to embrace the joy and warmth that come with the holidays. Whether you’re hosting a big family dinner, cozying up with close friends, or just enjoying some peaceful moments with your loved ones, a little preparation can make all the difference. Here’s a step-by-step guide to get your home holiday-ready.

1. Start Fresh

Before you dive into the holiday decor and celebrations, it’s essential to give your home a good cleaning and decluttering session. A tidy home creates an inviting atmosphere and gives you more room to enjoy the festivities. Here’s how to tackle it:

  • Declutter: Clear out spaces you will use for gatherings — like the dining table, living room, and entryway. Remove any unnecessary items, donate unused items, and organize your shelves and drawers. This will help you feel more relaxed and in control.
  • Deep Clean: Vacuum and mop the floors, dust off surfaces, and wipe down your windows. Don’t forget about the forgotten areas like light fixtures, baseboards, and behind furniture. You’ll be surprised how a thorough clean can make a space feel fresh and inviting.
  • Wash Linens: Make sure your guest towels, sheets, and blankets are clean and ready for use. If you plan on hosting overnight guests, consider updating your guest room with fresh bedding and a few cozy touches.

2. Set the Mood with Lighting

As the days get shorter, lighting plays a big role in creating a cozy, festive atmosphere. The right lighting can instantly elevate your home’s ambiance.

  • Holiday Lights: String lights are a classic for a reason! Add twinkling lights around your windows, mantel, or trees. Indoor fairy lights can create a warm, magical glow, while outdoor lights welcome guests with a festive touch.
  • Candles: Scented candles can fill your home with the fragrances of the season — think cinnamon, pine, or vanilla. Place them in the living room, bathroom, and dining area to create a soothing and festive vibe. For added safety, consider flameless LED candles that flicker just like real ones.

3. Holiday Decorations

When it comes to holiday decorations, you can do so much more than just putting up a holiday tree. Here are some ideas:

  • Seasonal Wreaths and Garlands: Hang a beautiful wreath on your front door to welcome guests, or drape garlands along your staircase, fireplace mantel, or windowsills. These touches instantly evoke the spirit of the season.
  • Festive Table Settings: If you’re hosting meals or parties, set the table with festive holiday linens, dinnerware, and centerpieces. A rustic table runner with pinecones and candles or a simple red and white theme can elevate the dining experience.
  • Characters: There are a number of holiday statues you can put up from nutcrackers, to gold wire created deer and even snow globes – all create a sense of wonder and enchantment in a home at this time.

4. Make Your Home Smell Like the Holidays

A home that smells good makes it feel even more inviting. Infuse your space with scents that remind everyone of the holidays.

  • Bake Some Treats: Nothing brings the holiday spirit into a home faster than the smell of freshly baked cookies, pies, or breads. Try making some holiday favorites and letting the delicious aromas fill the air.
  • Simmering Potpourri: A stovetop potpourri of cinnamon sticks, cloves, and citrus slices can make your home smell like the holidays without turning on the oven. Simply simmer these ingredients on low heat for a comforting, seasonal scent.
  • Essential Oils: Diffuse essential oils like peppermint, orange, or fir to fill your home with an uplifting, holiday-inspired fragrance.

5. Prepare for Guests

If you’re hosting guests during the holidays, preparing your space can make them feel comfortable and welcomed. A few thoughtful touches can go a long way.

  • Guest Room Ready: If you have overnight guests, freshen up your guest room with clean linens, fluffy pillows, and a few thoughtful touches like a nightlight or a basket with toiletries and snacks.
  • Entryway Organization: Ensure there’s a designated spot for guests to hang their coats and store their shoes. A basket of cozy slippers can be a nice touch for those colder months.
  • Refresh Your Restrooms: Stock up on toilet paper, hand soap, and fresh towels in all bathrooms. A small vase with seasonal flowers or a scented hand soap can make the space feel extra festive.

6. Stock Up on Holiday Essentials

Running out of essential items during the holiday rush can add unnecessary stress to your celebrations. Make sure you’re fully stocked up on everything you’ll need for hosting, cooking, and celebrating.

  • Pantry Staples: Ensure you have ingredients for your holiday meals, including any seasonal treats you plan to bake. Check that you have enough spices like cinnamon, nutmeg, and ginger, as well as canned goods and snacks for impromptu gatherings.
  • Gift Wrap and Cards: Stay ahead of the gifting game by purchasing wrapping paper, gift bags, and cards. This way, you won’t be scrambling when it’s time to wrap presents.
  • Entertainment: Whether it’s board games, holiday movies, or a playlist filled with Christmas carols, make sure you have entertainment options lined up for all ages.

7. Prepare for the Unexpected

The holiday season can sometimes come with a few surprises. Being ready for anything can help you enjoy the season without the stress.

  • Emergency Kit: Keep a small emergency kit on hand, including extra batteries for the lights, tape for wrapping, and a first aid kit. It’s always good to be prepared for the little hiccups that might arise.
  • Weather-Ready: If you live in an area where the weather can get unpredictable, make sure you have a plan in place for snow, ice, or rain. Stock up on essentials like blankets, warm drinks, and extra firewood.

Final Thoughts

Getting your Toronto home ready for the holidays isn’t just about decorating; it’s about creating a welcoming, cozy environment where you and your loved ones can enjoy the season’s magic. By following these steps, you can prepare your home in a way that enhances the joy and ease of the holidays. Remember, it’s not about perfection — it’s about making your home feel warm, inviting, and full of love.

From the team at Imaginahome – Happy holidays and the very best for a bright and prosperous new year!

The beauty of cedar

1024 683 Nisha Muire

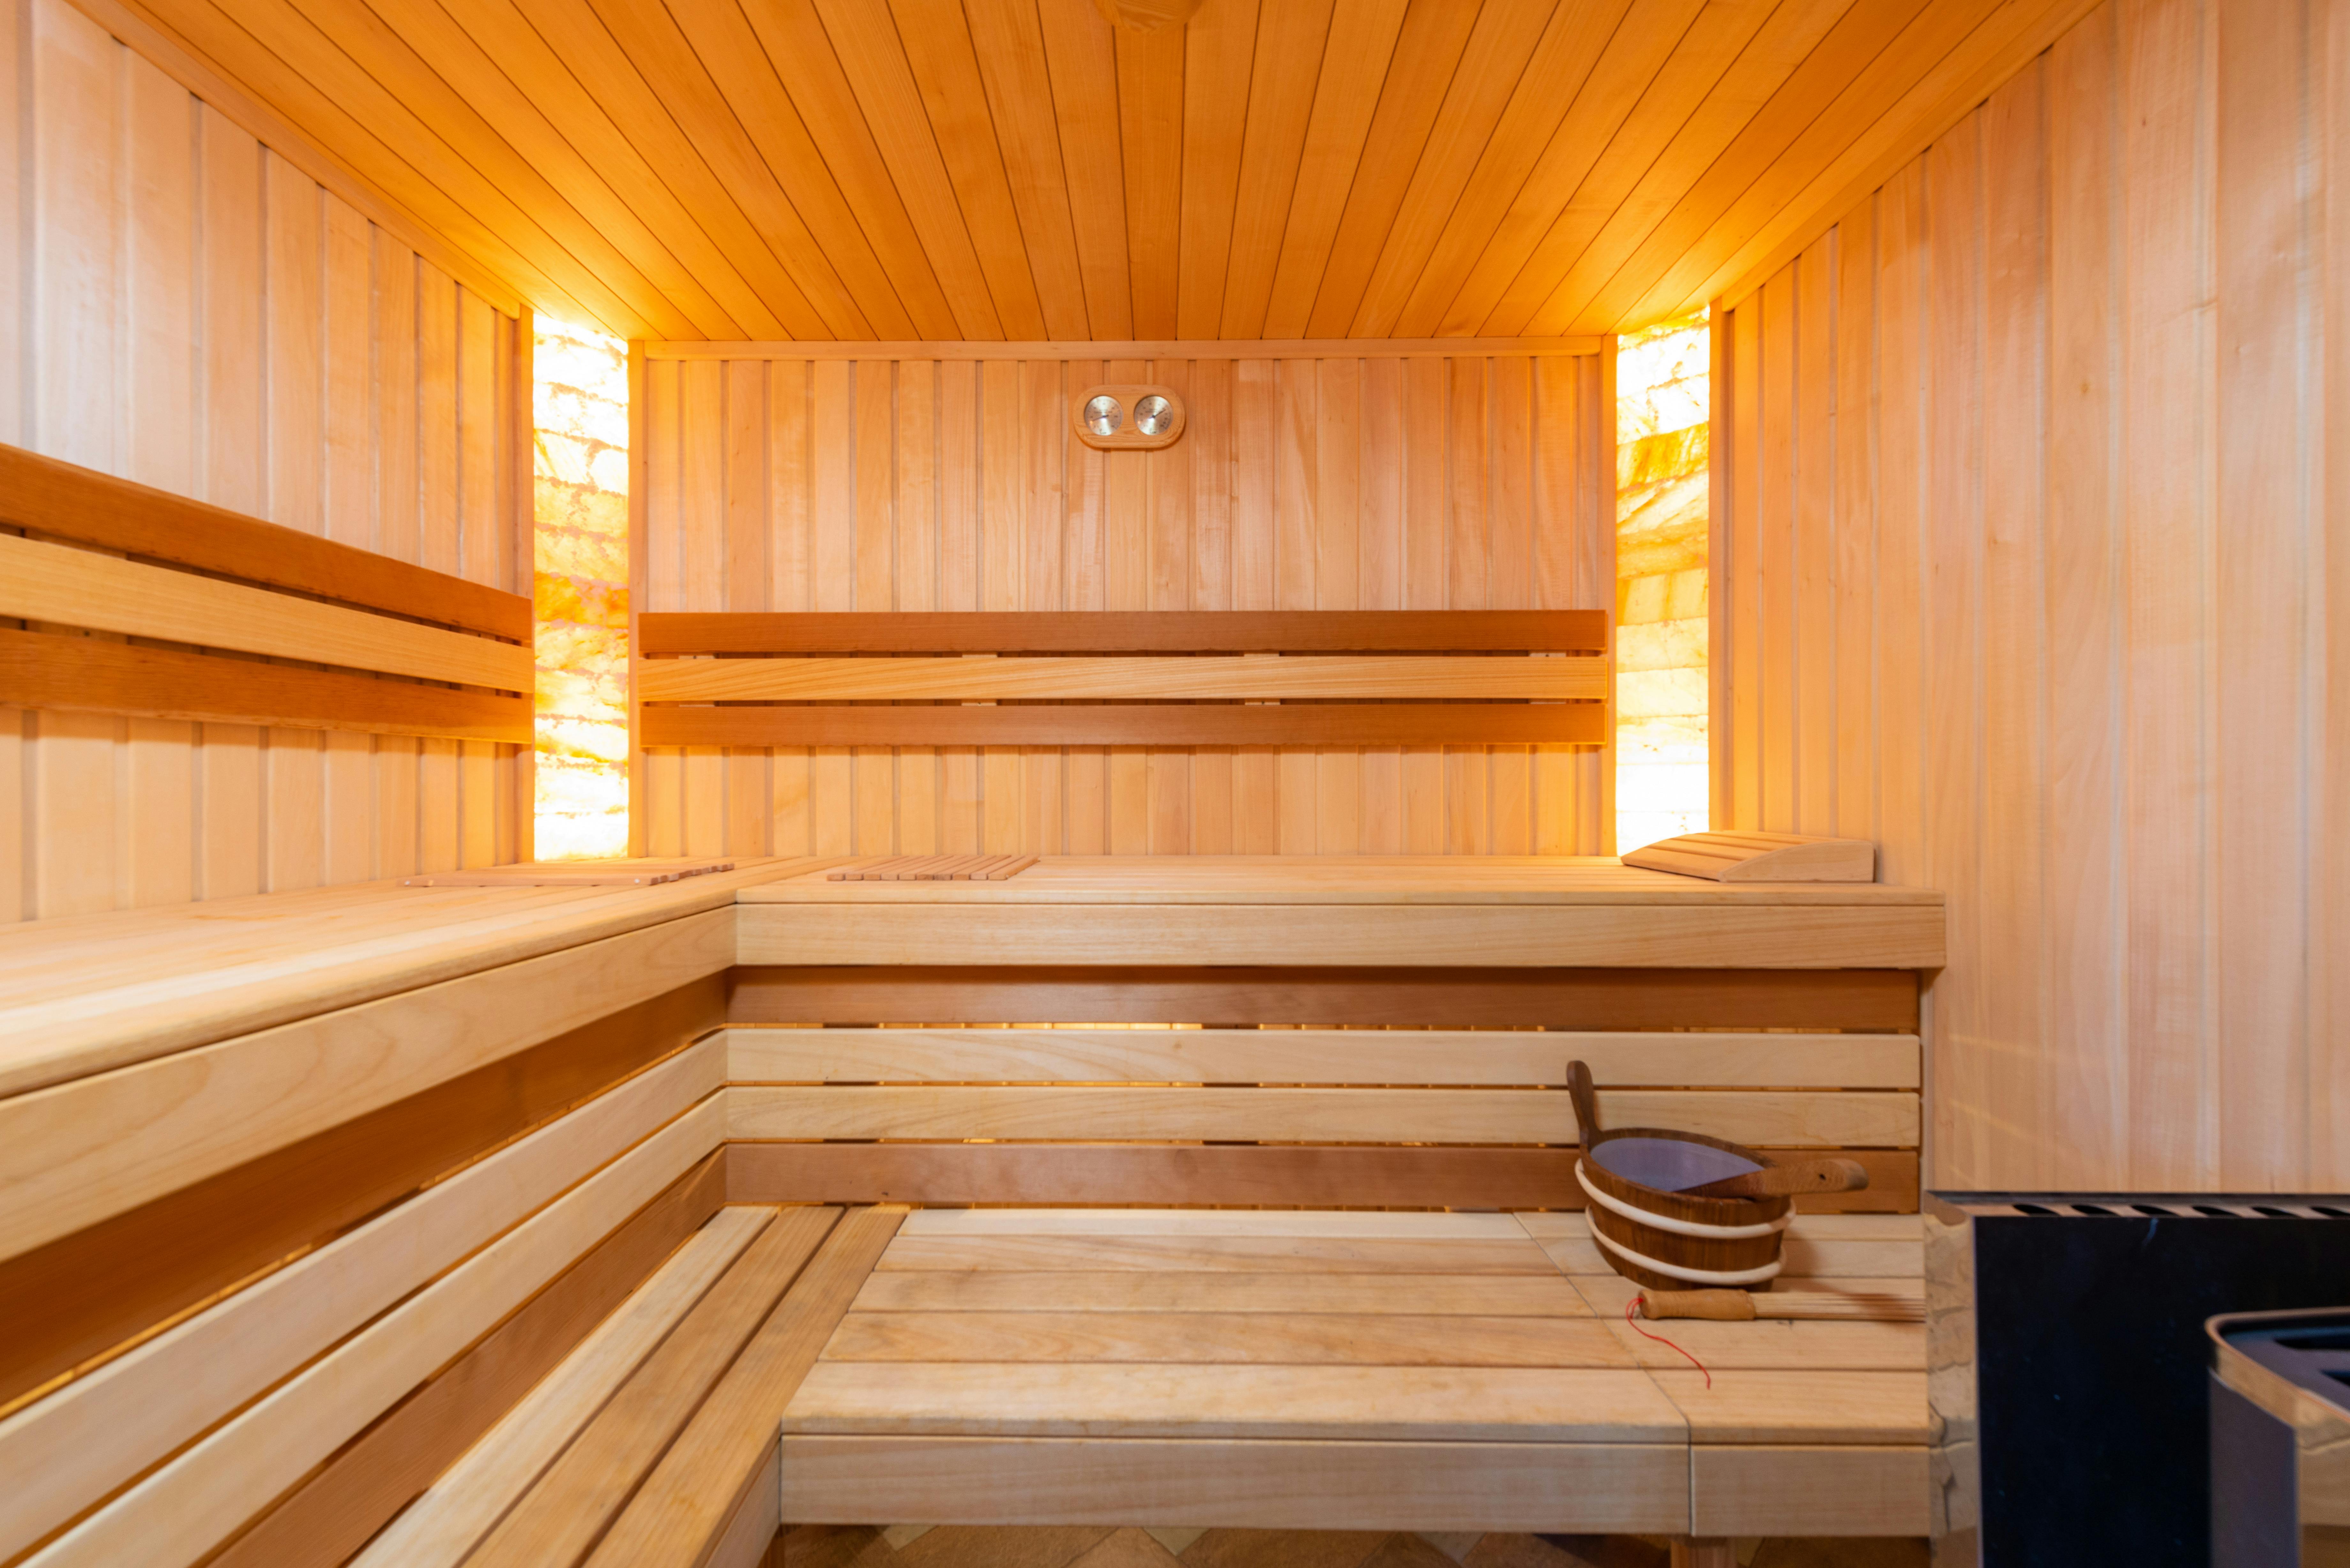
For Toronto homeowners owners cedar is a popular choice for outdoor furniture, decks, fences, and siding due to its natural beauty and durability – especially in cottage country. However, to keep cedar looking its best and to extend its lifespan, proper care and maintenance are essential. Here’s a guide to help you maintain your cedar wood effectively.

Understanding Cedar Wood

Cedar is known for its natural resistance to decay and insects, primarily due to its natural oils. There are several species, including Western Red Cedar and Eastern Red Cedar, each with unique characteristics. Despite its durability, cedar can weather and fade over time if not cared for properly.

Cleaning Cedar

Regular cleaning is crucial to maintain the appearance of cedar. Here’s how to do it:

  • Frequency: Clean your cedar items at least once or twice a year, ideally in spring or fall.
  • Materials: Use a soft-bristle brush, mild detergent, and warm water for cleaning.
  • Process: Mix detergent with water and scrub the surface gently to remove dirt, grime, and mildew. Rinse thoroughly with clean water to prevent soap residue.

Preventing Weathering

Cedar can gray and lose its vibrant color if exposed to the elements. To prevent this:

  • Sealing: Apply a high-quality wood sealer or stain specifically designed for cedar. This creates a protective barrier against UV rays and moisture.
  • Timing: Apply sealant every 1-3 years, depending on exposure to sun and rain. Always follow the manufacturer’s instructions for application.

Addressing Cracks and Splits

Cedar wood can develop cracks or splits over time. Here’s how to manage them:

  • Inspection: Regularly inspect your cedar for any signs of damage.
  • Repair: Use a wood filler or epoxy for small cracks. For larger splits, consider replacing the affected section or consulting a professional.

Protecting Against Insects

While cedar is naturally resistant to insects, it’s not immune:

  • Regular Checks: Inspect for signs of infestation, such as small holes or sawdust.
  • Treatment: If you notice an infestation, treat the wood with an insecticide specifically designed for wood. 

Maintaining Indoor Cedar

For indoor cedar items, such as closets or chests, the care is slightly different:

  • Humidity Control: Maintain a consistent humidity level to prevent warping or cracking.
  • Cleaning: Dust regularly and occasionally clean with a wood cleaner designed for cedar.

Seasonal Maintenance

  • Winter Care: If you live in an area with harsh winters, ensure that your cedar furniture or structures are protected from heavy snow and ice. Consider covering them or moving them to a sheltered location.
  • Summer Care: In hot climates, use a UV protectant spray to minimize fading.

Conclusion

Proper care and maintenance of cedar wood will enhance its natural beauty and longevity. By following these guidelines, you can ensure that your cedar remains vibrant and functional for years to come. Regular inspections, cleaning, and protective measures are key to preserving this beautiful wood.

diy patio

680 1024 Nisha Muire

The high heat of summer in Toronto is around the corner and if your home doesn’t already have one, then you might be looking to build a patio. If that is the case but sticker prices are making you hesitate on taking the plunge – why not consider building your own patio?

A DIY patio might sound complicated if you have never already tackled something similar, but all it really requires is some elbow grease and the right tools and materials. The big advantage of building your own patio is simple – cost savings. By doing the work yourself you can save up to 45% of the project cost that would have gone to labor. 

Here are the basic tools and steps that will help you create the perfect place for sitting in your yard. 

Outline

Whether you use spray paint, mason line and stakes or a simply garden hose – it is important to outline the spot you want for your patio. An outline will help you keep your lines straight or properly curved depending on the shape you want. If your land slopes towards your house, then using a mason line and stakes is probably the better idea since it can help you to also visualize the grading you will need to create to help the land slope away from your home. 

Sod removal

Next you will need a shovel to remove the sod from your outline. It’s best not to skip this step unless you want a temporary patio or simple stepping stones. Removing the sod and the layer just below the grass line is best for creating a stable surface that won’t shift or move your patio stones. 

Landscape fabric

Once you have removed the sod and first layer of earth from within your outline, you need to put down landscaping fabric. The fabric prevents weeds from growing between your pavers. You can stake the fabric down so that it doesn’t move. The other reason to lay down landscape fabric is so that if you ever want to remove your patio and relay sod, the fabric will help you to easily remove the gravel that  you need to lay down next. 

Gravel/sand

Spreading a four-six inch layer of gravel comes next. Make sure to compact the gravel with a tamper or compactor. Remember to have the incline slope away from your house if your patio is adjacent to your home. On top of the gravel you must next spread about one inch of builder’s sand – and again, it needs to be properly compacted to created a solid base. 

Stones/pavers

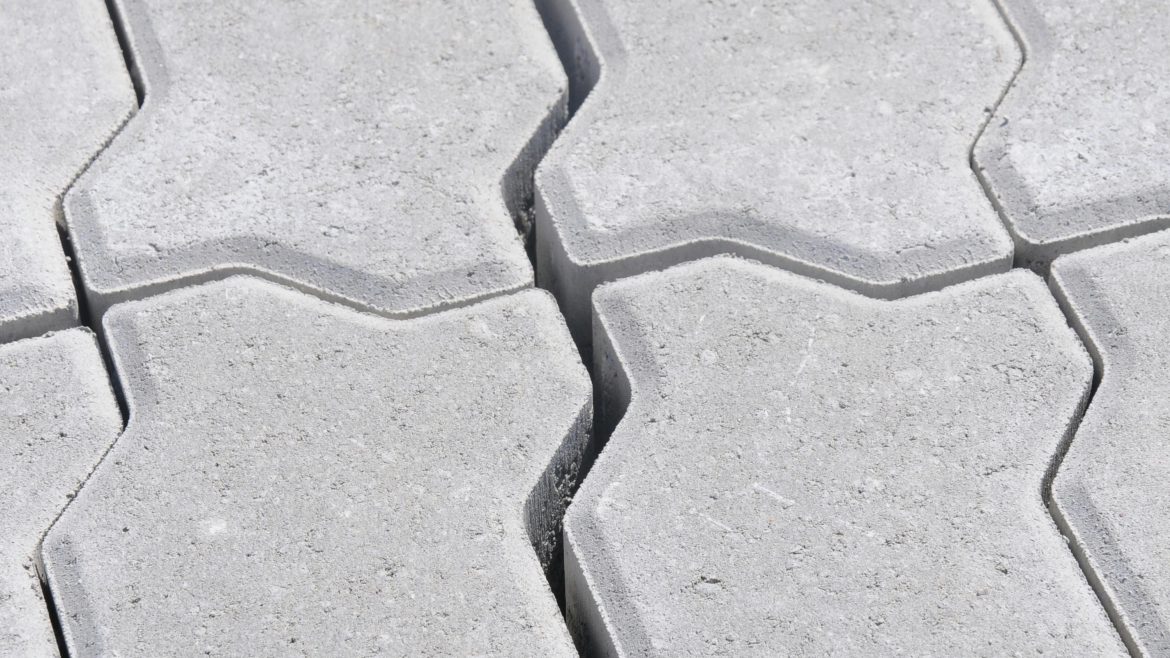
Depending on the look you want, start placing your stones or pavers down – ideally as close as possible to prevent weeds from finding a foothold. Make sure they are all even so that any furniture you place on them doesn’t rock. You can use a mallet to hammer down stones that are too high or add sand under pavers that are too low. 

Jointing sand

Finally, it is time to spread polymeric jointing sand over everything and sweep it into the joints between your pavers or stones using a stiff broom. You will need to water your patio and keep adding sand in between the joints for a few days to make sure it is well compacted. 

And now, simply add your bbq and furniture to enjoy the summer!

Pro tip

  • Use garden edging held in place with long stakes on the outer edge of your patio outline to keep the stones from moving.

April Garden Prep

643 960 Nisha Muire

For Toronto homeowners who have been itching to get back into the garden, winter’s drawn-out last gasp in April can seem especially tedious. However, there are certain vegetables that prefer cooler soil and which you could already plant outside. 

Choosing the right plants

Great options for planting outside directly into your garden bed in April include:

  • Green peas
  • Lettuce
  • Spinach
  • Beets
  • Radishes and carrots
  • Cucumbers
  • Corn
  • Cabbage

If vegetables don’t inspire you and you prefer the sweet sight and smell of flowers, then these are your best bets for an April start:

  • Rudbeckia
  • Nemesia
  • Cosmos 
  • Marigolds

Weather permitting

Regardless of when it should be okay to sow the seed for these plants outside, it is always best to check the long range weather forecast to make sure no last frost days are predicted. While the listed plants are hardy and prefer cooler soils, they are not immune to frost and can get damaged or die if there is a true cold spell.  

Garden bed prep

If you haven’t already, now is the time to prep your Toronto garden beds for the growing season. Be sure to clear off the leaf mulch from perennials and cut back their dead stems. Remove protective plant coverings and top-up your beds with new earth. Once your beds are ready – you can go ahead and plant your seeds.  

After your seeds are planted, you do have to watch for any cold weather. Be prepared with frost cloth or burlap to cover your seedlings at night if the temperature is about to dip so you can trap the day’s heat in the solid overnight. But, aside from being vigilant about the weather, once your seeds are planted, you can enjoy watching them grow for the rest of the season.

Cost of building in 2024

1024 688 Nisha Muire

With Toronto housing prices being what they are it is natural to think that building might be a better option to buying a resale property. The truth is that custom built homes can often cost just as much, if not more, than resale homes. 

What to consider

There are several factors that make building expensive. Not only has the cost of building the materials sky-rocketed, but so has the cost of land. Regardless of where you choose to build your home here are some of the costs you will have to include in your budget:

  • Land
  • Building plans
  • Labour (General contractor, trades)
  • Foundation
  • Materials
  • Land prep

Land

If you want to purchase land in Toronto, it will run into the hundreds of thousands of dollars – in the centre of the city it could also be over a million. If you are comfortable living outside the city, then land costs drop significantly. Where you want to build will be one of the biggest determinants of your overall budget. 

Building plans

There are a couple of options when it comes to building plans – hiring an architect/firm to draw them up or purchasing the plans online. Depending on the scope of your project plans can cost between $6-$15 per square foot. 

Labour

Once you have your plans, you’ll need to find someone who can help you make them a reality. Your best bet is to hire a general contractor unless you are very familiar with construction and are ready to put in the time needed to find and coordinate all the trades needed to complete your build. General contractors range in price anywhere from 10%-20% of your total building cost. Your other option is to buy a prefabricated home and have the company deliver a finished property to you – this is usually the easiest option, but will cost more than doing it yourself. 

Foundation

On average, an unfinished basement foundation for an average size home costs roughly $33/square foot. It can be less if you just need a poured slab.  

Materials

Materials are hard costs that include everything needed to deliver a finished, move-in ready property. While much of the material costs you cannot control, you can control the kind of finishes you want – and this will greatly influence how much your overall material bill will be. 

Land prep

Unless the land you purchase has already been cleared of trees, boulders and any existing structures, you will have to budget it hiring specialists to come and prep your plot so that it is ready for the actual build. 

Overall

What does all this mean? Well, it means that in Toronto the cost of building a custom home can range from $205-$280 per square foot excluding land costs. So, that would mean that an average sized 1500 square foot home would range in cost between $303K-$420 plus the cost of land.

Saving for a down payment

1024 681 Nisha Muire

The high-interest environment of the Toronto housing market has made saving a sizable downpayment a necessity. Although you don’t need to have 20% to put down, you will need to save as much as you can to bring your mortgage payments to an affordable level. How to save such a sum of money? There are a few tips you can follow. 

How much do you need?

As simple as this sounds, knowing how much you need will help you make the right calculations for determining how quickly you can start looking for a home. The best way to come up with a figure that makes sense is to:

  • Know how much you can afford to pay as a mortgage every month
  • Know what you want to buy 
  • Know where you want to buy it

These three things will influence how much you can spend on a property and how much you should then save up as a downpayment. 

Set a realistic goal

If you know that you can realistically afford a certain amount on a property, then aim to have between 10-20% of that amount as your down payment. Then take that amount and divide it by how much you can sensibly set aside every month. It might take you a few years to reach your goal, but knowing why you are saving will motivate you – especially since saving long-term is not always easy. 

Automatic savings

A good way to stick to your goals is to set up an automatic savings plan so that money is deducted immediately from your paycheck and put into a high-interest financial vehicle. Instead of just putting your money into a regular savings account, put your money into a TFSA or a Home Buyer’s Plan so that you can take advantage of growth tax-free.

Create future budgets

A good way to save even quicker for your down payment is to anticipate the financial commitment of a home and take whatever the difference is between your current living expenses and put that away. For instance, if your current living expenses amount to $4500 a month with rent, utilities, telecom, food, car payments, etc… add to that what you would be paying every month towards property taxes, home/life insurance, a larger utility bill and any conde fees (if applicable). If the new total is now $5000 a month, take that extra $500 a month and put it into your savings account. Not only will you reach your savings goal quicker, but you will see how it feels to live on that future budget. 

Life  goes on

Buying your own place is a right of passage and something most of us aspire to. Finding a way around high interest rates by planning early and saving as much as possible for a down payment is the best solution to realizing your dreams of homeownership.

End of year wrap-up

1024 685 Nisha Muire

End of year wrap-up

Another year is nearly at an end for the Toronto housing market. How will this year stack up? Probably, not as well when compared to previous years. However, despite the slow down in the market, prices did manage to eke up by 0.3% this year according to the Toronto Housing Market report. 

Although Toronto realty has been sluggish in 2023 and rising interest rates have impacted demand and affordability, many news outlets are now predicting that interest rates will be cut starting mid-2024, which will positively affect the housing market. Although lower interest rates should help bring demand back up, with housing prices expected to rise with the pent-up demand. 

While it might be a challenging time for those hoping to jump into the market or to simply move – either up or down – there is one piece of advice that will ring true every year – purchasing a home over the Holiday period and into January is when you will likely get the best deals. Most homebuyers are too busy with the festive season to bother with house hunting and buying. Then, typically January is also a very slow month due to weather and recovery from the holidays. So, if you are in a position to bid on a place and were just waiting for the right time, now might just be it.

If a house has been on the market for more than a few weeks, then chances are they will be willing to negotiate. And, remember, it isn’t always price that can be negotiated. Many other factors involved in a home sale can be discussed during the transaction including:

  • Contingencies
  • Closing costs
  • Repairs
  • Closing dates
  • Deep cleaning
  • A home warranty
  • Appliances
  • Furniture/fixtures
  • Inspections

A good realtor will be able to strike the right balance so that all parties walk away feeling satisfied.  

Whatever the new year brings, we here at Imaginahome, hope that it brings all of you happiness, love and the house of your dreams!

Winterizing your sump pump

1024 624 Nisha Muire

Toronto winters are not as harsh as those experienced across the country. However, temperatures do routinely drop below the freezing point, which means  if you have a home with a sump pump it is vital to winterize it. 

Why to winterize sump pump

Winterizing your sump pump doesn’t require a lot of work, but if it isn’t done and the drainage line freezes it will block the water from draining and the sump pit will get backed up. If not caught on time the water backup can spill over into your basement and cause a lot of damage.  

Steps to follow:

1- Remove hose

The first step is self explanatory – it is vital to remove the hose attached to your sump pump or risk it freezing with water remaining inside. 

2 – Clean pump and pipes

Even if you’ve removed the hose, if there is any standing water remaining in your pump or any pipes, this can damage the system – likewise with any mud or debris that could have found its way in. 

3 – Install a sump pump ice guard (optional)

If you are really worried about freezing water, you can always install an ice guard. These handy devices are designed to make sure any overflow water is diverted out of the sump basin. 

4 – Make sure exit pipe far enough away from house

All sump pumps have an exit pipe that carries ways away from your house – make sure that this pipe is far enough away so that no water can return towards your house. 

5 – Don’t unplug your sump pump!

That’s right. Even if you don’t expect that it will be necessary over the winter, there is always the chance of an unexpected thaw or vacillating temperatures that could require the pump to help get rid of water. If it is unplugged – that can’t happen. So be sure that your pump remains plugged in.  

6 – Winterize crawl spaces 

Next, make sure that any crawl spaces are well defended against the cold. If too much cold air is allowed into the space, it can eventually freeze your sump pump pipes and basin. 

If you are diligent about doing the steps we’ve outlined, then you can rest easy when the cold weather hits knowing your home and sump pump are ready.

The Fall Home Show 2023

1024 679 Nisha Muire

Toronto homeowners who have opted to remain in their homes instead of upsizing or downsizing, but who still want to customize their living space will be happy to know that the Fall Home Show is returning. From September 29-October 01, 2023 at the Enercare Centre, Exhibition Place, the decor and lifestyle exhibition will open its doors to those who want to remake, remodel or maximize their living space. 

This year’s theme

Every year the Toronto Fall Home Show has a theme and this year it is the magic of October. In keeping with this theme, the exhibits all focus on creating the perfect fall atmosphere for your dwelling. Among the many exciting and interesting exhibits are live tablescapes – where style influencer and designer Nicholas Roasci creates table settings in the aisles. One of the more fun and whimsical additions to this fall’s show is the Ghostly EX-ploration where guests are led on a paranormal walk with Paranormal Investigator Glen Laycock. On the more hands-on side will be a paint-your-own pumpkin area where you can paint a pumpkin and take it home for free!  

Speaker’s corner

As well as the themed exhibits, the show will include over 250 vendors, exhibitors and speakers who are all focused on helping you create the perfect living space in your home. Among this year’s expert speaker line-up are Scott McGillivray, Christina Da Costa & Maria Perketa and Effy Terry. Whether you want renovation advice, decor tips or organization guidelines – you’ll be able to find it all at the speaker’s corner. 

DIY and Renos

If you were planning on renovating your home over the winter or want design inspirations for a new home or layout – you can find it here. You can book a session for either a free design or reno consultation – or both if you wish! DIYers will also have a lot to interest them at the DIY Centre. 

Regardless of your interest, whether you are just curious about what’s available or want inspiration for your next project, the Fall Home Show is where you will find it.

Infinity mortgages

1024 685 Nisha Muire

The Bank of Canada held the interest rate at 5% on September 6, 2023. Cold comfort for the homeowners who find themselves already struggling to maintain their mortgage payments. With interest rates so high a new trend in homeownership is emerging – infinity mortgages. 

What is an infinity mortgage?

Simply put: an infinity mortgage is when your monthly interest is more than your monthly payment. The result is a ballooning loan amount. 

How does a mortgage fall into the infinity category?

Given the high interest rates many variable rate homeowners have opted to fix their payments while the rates continue to fluctuate. Instead of locking in at a high rate, these homeowners are betting that the rates will come down and their payments along with them. In the meantime, if what they are paying per month is less than the interest they are accruing, they slip into what is now called an infinity mortgage – thanks to the little infinity symbols that are appearing next to the years of amortization on bank statements.   

Long amortizations

Another way that mortgages are falling into infinity is through increasing amortization. Although the longest amortization in Canada is currently 30 years, some homeowners are seeing amortizations rise dramatically due to infinity mortgages. What might have started out as a regular 25-year amortization would have crept upwards with the slow build-up of interest being added to the loan.   

Can infinity end?

If you find yourself in such a situation, don’t despair! These mortgages end with the end of your loan term. Once your loan comes up for renewal, your amortization will reset – but you will likely have to make a much higher mortgage payment every month than you do now to prevent the infinity cycle from happening again. 

Best option?

Your best option is to bite the bullet and to make the higher monthly payment right away. If you are unable to find extra money from somewhere, then you should use the time when you are in an infinity mortgage situation to look for ways to come up with extra money to meet your monthly payments or to build up a hefty down payment for when your loan does come up for renewal. If you are able to pay down some money towards the principal then you would be refinancing on a lower amount resulting in less interest and lower monthly payments.  

Foreseeable future

It is not possible to predict exactly when interest rates will start coming down again. So, it is best to plan for rates to remain high for the medium-term. If you are prepared, then you will be better positioned for when rates do come down. And, you will be better able to handle any future rate hikes as well.