The high heat of summer in Toronto is around the corner and if your home doesn’t already have one, then you might be looking to build a patio. If that is the case but sticker prices are making you hesitate on taking the plunge – why not consider building your own patio?
A DIY patio might sound complicated if you have never already tackled something similar, but all it really requires is some elbow grease and the right tools and materials. The big advantage of building your own patio is simple – cost savings. By doing the work yourself you can save up to 45% of the project cost that would have gone to labor.
Here are the basic tools and steps that will help you create the perfect place for sitting in your yard.
Outline
Whether you use spray paint, mason line and stakes or a simply garden hose – it is important to outline the spot you want for your patio. An outline will help you keep your lines straight or properly curved depending on the shape you want. If your land slopes towards your house, then using a mason line and stakes is probably the better idea since it can help you to also visualize the grading you will need to create to help the land slope away from your home.
Sod removal
Next you will need a shovel to remove the sod from your outline. It’s best not to skip this step unless you want a temporary patio or simple stepping stones. Removing the sod and the layer just below the grass line is best for creating a stable surface that won’t shift or move your patio stones.
Landscape fabric
Once you have removed the sod and first layer of earth from within your outline, you need to put down landscaping fabric. The fabric prevents weeds from growing between your pavers. You can stake the fabric down so that it doesn’t move. The other reason to lay down landscape fabric is so that if you ever want to remove your patio and relay sod, the fabric will help you to easily remove the gravel that you need to lay down next.
Gravel/sand
Spreading a four-six inch layer of gravel comes next. Make sure to compact the gravel with a tamper or compactor. Remember to have the incline slope away from your house if your patio is adjacent to your home. On top of the gravel you must next spread about one inch of builder’s sand – and again, it needs to be properly compacted to created a solid base.
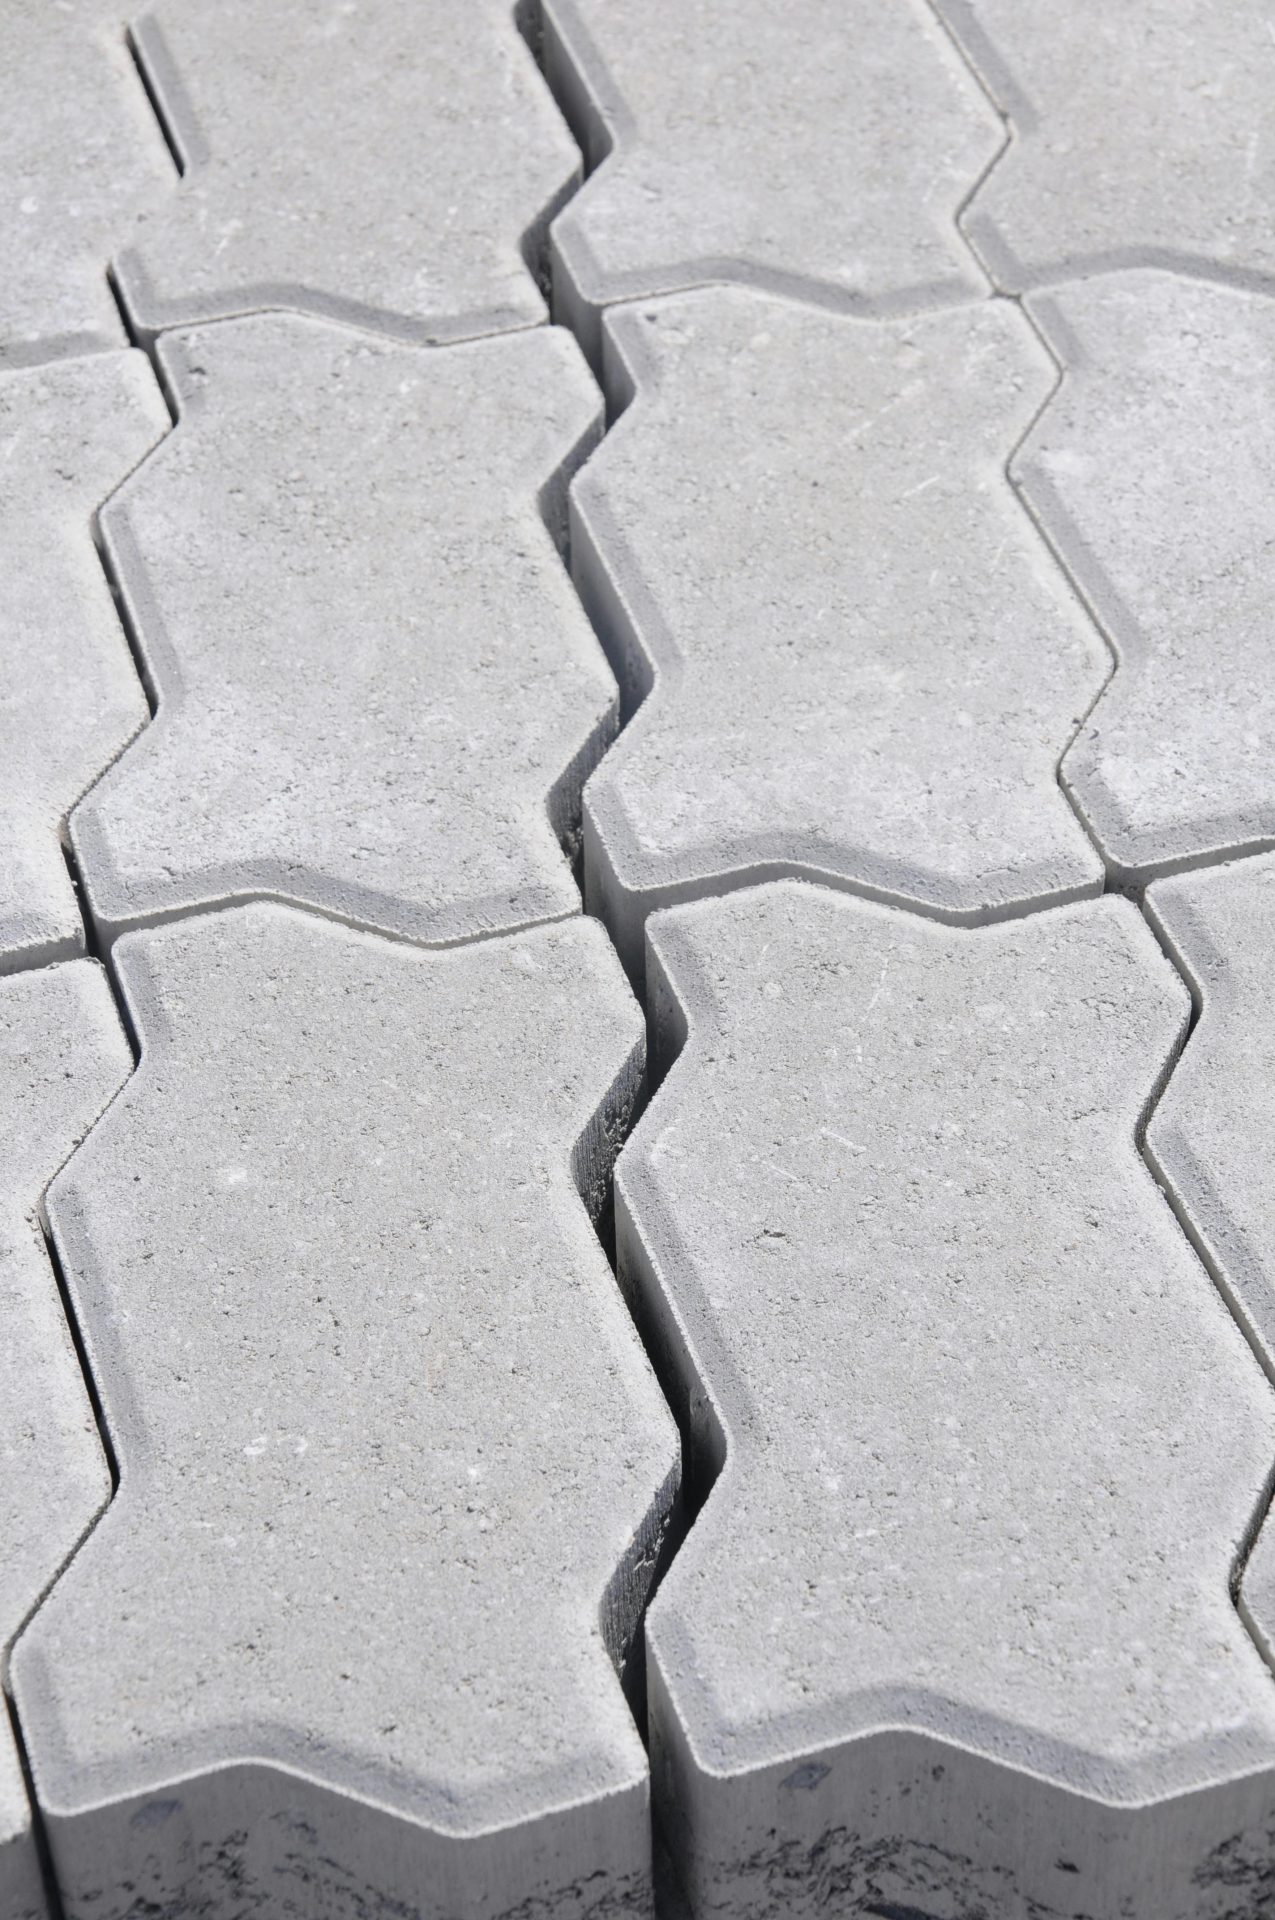
Stones/pavers
Depending on the look you want, start placing your stones or pavers down – ideally as close as possible to prevent weeds from finding a foothold. Make sure they are all even so that any furniture you place on them doesn’t rock. You can use a mallet to hammer down stones that are too high or add sand under pavers that are too low.
Jointing sand
Finally, it is time to spread polymeric jointing sand over everything and sweep it into the joints between your pavers or stones using a stiff broom. You will need to water your patio and keep adding sand in between the joints for a few days to make sure it is well compacted.
And now, simply add your bbq and furniture to enjoy the summer!
Pro tip
- Use garden edging held in place with long stakes on the outer edge of your patio outline to keep the stones from moving.